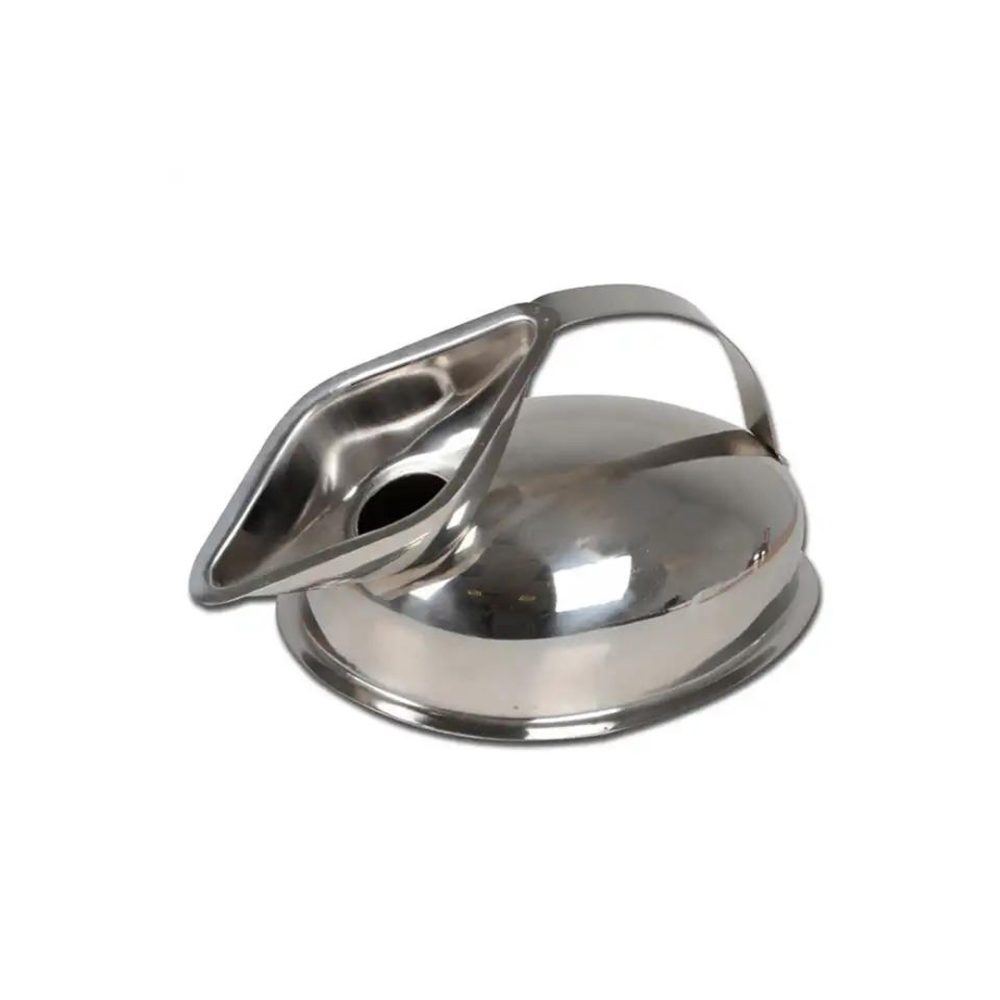
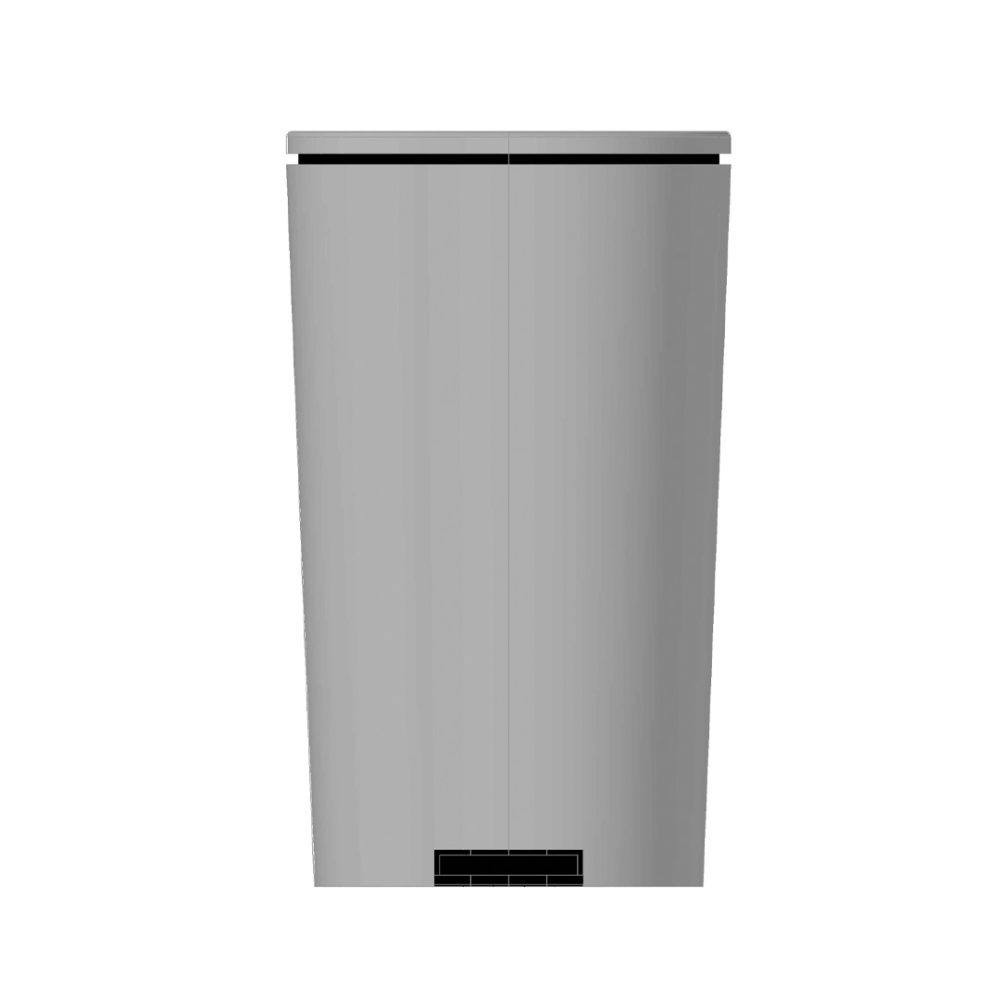
Description
Unpacking Instructions
1. Find a Clean Workspace: Ensure that the area where you’ll be unpacking the container is clean and
free from dust or contaminants.
2. Open the Box: Carefully cut or peel away the tape or seals securing the box. Avoid using sharp tools
that might damage the contents.
3. Remove Contents: Gently remove the surgical cotton container and any accompanying items such as
manuals, accessories, or installation components from the box.
Assembling Instructions
Place the lid on top of the main body. Ensure it fits securely.
Start-Up Instructions
1. Clean the Container: Before use, clean the container according to the manufacturer’s instructions.
This may involve wiping it down with a disinfectant or washing it if it is safe to do so.
2. Load Surgical Cotton: Place surgical cotton into the container. Ensure that it is arranged in a way that
allows for easy access and maintains the sterility of the cotton.
3. Secure the Lid: Close and secure the lid according to the design of the container. Ensure that it is
properly sealed to maintain sterility.
4. Check Functionality: Test the container to ensure that it opens and closes smoothly and that all parts
are functioning as intended.
5. Label the Container: If necessary, label the container with relevant information, such as contents and
date of packing, for easy identification
6. Store Properly: Place the container in its designated storage area, ensuring it is kept in a clean, dry
environment.
7. Review Protocols: Familiarize yourself with any additional protocols or usage guidelines specific to
your facility or the container’s manufacturer.
By following these steps, you should be able to unpack, assemble, and start up your surgical cotton
container effectively. If you encounter any issues or uncertainties, consult the manufacturer’s customer
support for assistance.


